How to Place Text and Logos on a Tesla Paint Shop Wrap
Place text, logos, and marks on a Tesla Paint Shop design by choosing continuous body regions, setting readable scale and contrast, protecting clear space, and testing several 3D angles.
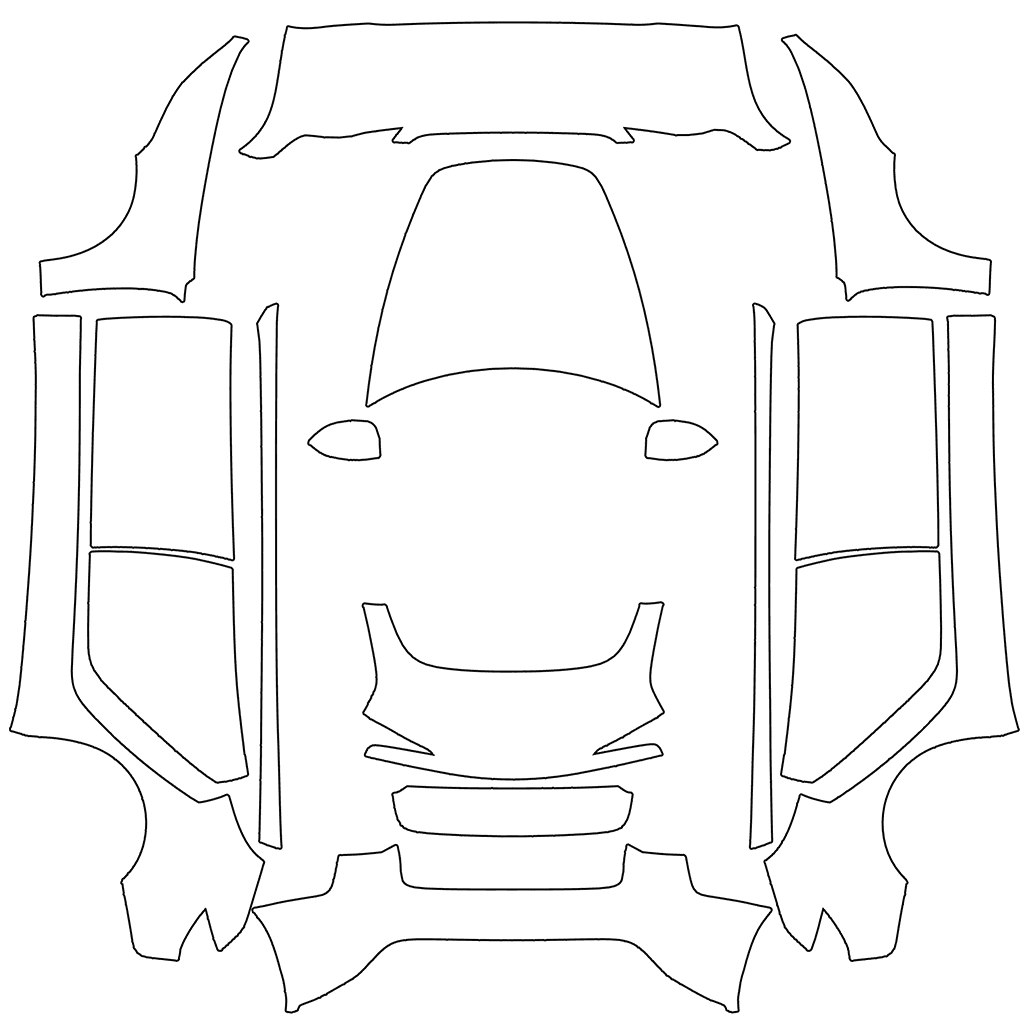
Text and logos expose mapping errors faster than almost any other Paint Shop element. A slightly shifted gradient can still look intentional, but a letter split by a door seam or a logo center moved onto another body region immediately loses clarity.
This guide focuses only on layout: choosing a region, setting scale, protecting clear space, and previewing the result. It is an editorial workflow based on Tesla's official blank-template structure, not a Tesla brand or art specification.
Evidence scope: this article is a desk review of Tesla's public manuals and template files. It does not claim an in-vehicle test unless one is explicitly documented.
Key takeaways
- Keep essential text and logos inside one continuous body region.
- Make the message readable at thumbnail scale before adding detail.
- Protect clear space instead of touching the editable-region edge.
- Test only one variable—position, scale, or contrast—per pass.
Choose a continuous region before writing the layout
Mark doors, fenders, nose, rear, and other regions on the official blank file for the vehicle. Put a headline, name, or recognizable logo inside one continuous area instead of completing the typography first and forcing it onto the body map.
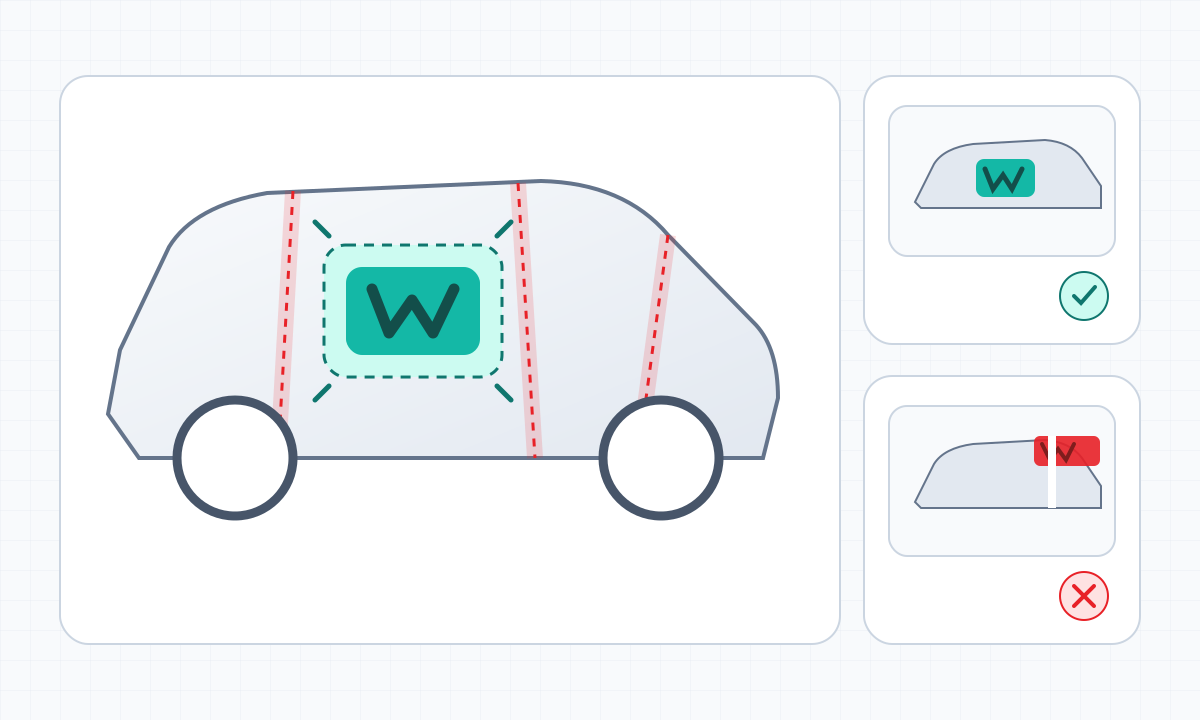
If a sentence cannot fit clearly in one region, shorten it or split it into primary and secondary levels. A background texture can cross parts; informational text should not be the connecting layer.
Set type scale and contrast for the touchscreen view
The vehicle does not always fill the Paint Shop screen. Reduce the design to a small preview. If the message only works when the flat file is enlarged, its size, weight, or background contrast is not ready.
- Prefer short phrases and clear letterforms over fine strokes.
- Build a stable light-dark difference between type and background.
- Do not rely on a hairline outline or shadow for separation.
- Keep one dominant information level on each side of the vehicle.
Protect clear space around the logo
Keep the logo away from the edge of a white editable region and from seams, wheel arches, or orientation changes. Start smaller with obvious open space, then enlarge only until it is recognizable at thumbnail scale.
Figures, arrows, and wordmarks with a clear direction also need left-right checks for unintended reversal. When the composition must continue across regions, connect it with color or texture rather than duplicating a broken logo.
Use a text-and-logo preview checklist
Place one high-contrast text block or single-color logo in the first draft. Inspect the direct side, front quarter, rear quarter, and wide view. Record whether position, scale, or contrast failed, then change only that variable.
- Does a body seam cut through a letter?
- Does the logo outline cross onto another part?
- Can the core word still be read in the wide view?
- Do both sides face the intended direction?
Frequently asked questions
Should a Tesla Paint Shop wrap use a long sentence?
Usually not. Touchscreen scale and body seams reduce long-form readability. Keep one short headline and let color and graphics carry the supporting mood.
Can a logo span two doors?
Avoid placing a logo that must remain intact across a seam. Reduce it to one body region and connect the doors with background texture instead.
Why does clear desktop text look small in Paint Shop?
The desktop shows a large flat file while Paint Shop shows the complete 3D vehicle. Adjust size, weight, and contrast using a thumbnail-scale check.
Sources
Product features, file requirements, and vehicle directories are sourced from Tesla's first-party material where available. The interface may vary by region, configuration, and software version.
Template and Paint Shop content
Checks content against Tesla's public material, vehicle templates, and the site's real workflow without inventing individual expert identities.
Test one text block on the correct body map
Choose the vehicle blank, preserve the canvas, and change one layout variable per preview.
Continue reading

How to Build Seamless Patterns and Gradients for Tesla Paint Shop
Build seamless repeat tiles and gradients for Tesla Paint Shop: validate all tile edges first, then control scale, direction, and color transitions by body region.
Read article: How to Build Seamless Patterns and Gradients for Tesla Paint Shop
How to Use the Official Cybertruck Paint Shop Template
Use Tesla's official Cybertruck Paint Shop blank template, understand the editable body regions, and run an initial blank-PNG check before building a detailed digital wrap design.
Read article: How to Use the Official Cybertruck Paint Shop Template
How to Design a Tesla Paint Shop Wrap That Reads Across Body Panels
Design a clearer Tesla Paint Shop wrap by working with panel seams, graphic scale, color contrast, the original template canvas, and multi-angle 3D preview checks.
Read article: How to Design a Tesla Paint Shop Wrap That Reads Across Body Panels