How to Build Seamless Patterns and Gradients for Tesla Paint Shop
Build seamless repeat tiles and gradients for Tesla Paint Shop: validate all tile edges first, then control scale, direction, and color transitions by body region.

Repeating texture and gradients tolerate body seams better than text or recognizable faces, making them useful connecting layers for a Paint Shop body map. Better tolerance is not automatic continuity: inconsistent scale, direction, or color phase can still create an obvious break on the 3D vehicle.
This guide focuses on connecting-layer design rather than vehicle selection or USB setup. It is a desktop editorial workflow based on Tesla's public blank-template structure and repeat-pattern preview methods, not an official Tesla art specification or an in-vehicle test.
Evidence scope: this article is a desk review of Tesla's public manuals and template files. It does not claim an in-vehicle test unless one is explicitly documented.
Key takeaways
- Build a seamless tile whose four edges repeat before opening the vehicle body map.
- Check every edge and corner in a 3-by-3 preview before applying the tile.
- Plan gradients by body region instead of forcing flat-canvas continuity.
- Change only scale, direction, or color in each preview pass.
Choose a pattern structure that tolerates seams
Grain, noise, camouflage, scattered marks, and geometry without one center usually work better across regions than a long line that must stay continuous. If the pattern contains a recognizable subject, keep that subject inside one body region.
Identify the white editable regions on the correct official blank template first. Texture may extend across several regions, but the original canvas, transparency, and body coordinates must stay unchanged.
Build a genuinely seamless repeat tile first
Create the repeat in a separate square document instead of treating the Tesla body template as the tile boundary. Use a live pattern-preview feature so neighboring copies appear outside the canvas, then repair the top-to-bottom and left-to-right joins while the repeated view is visible.
Arrange the finished tile in a 3-by-3 grid and inspect all four edges and corners for seams, clipped lines, or recurring bright spots. Apply it to the white editable regions of the correct vehicle template only after the flat tile passes. A seamless tile removes tile-edge breaks; it does not automatically bridge doors, bumpers, or other 3D body-map seams.
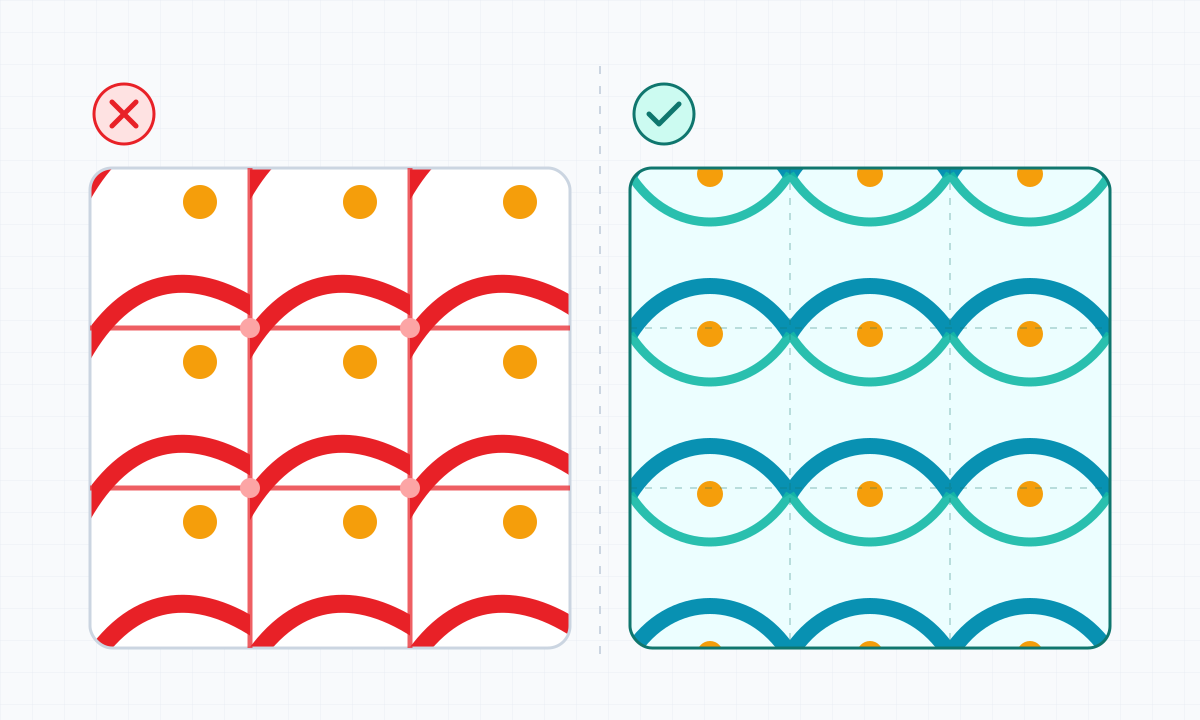
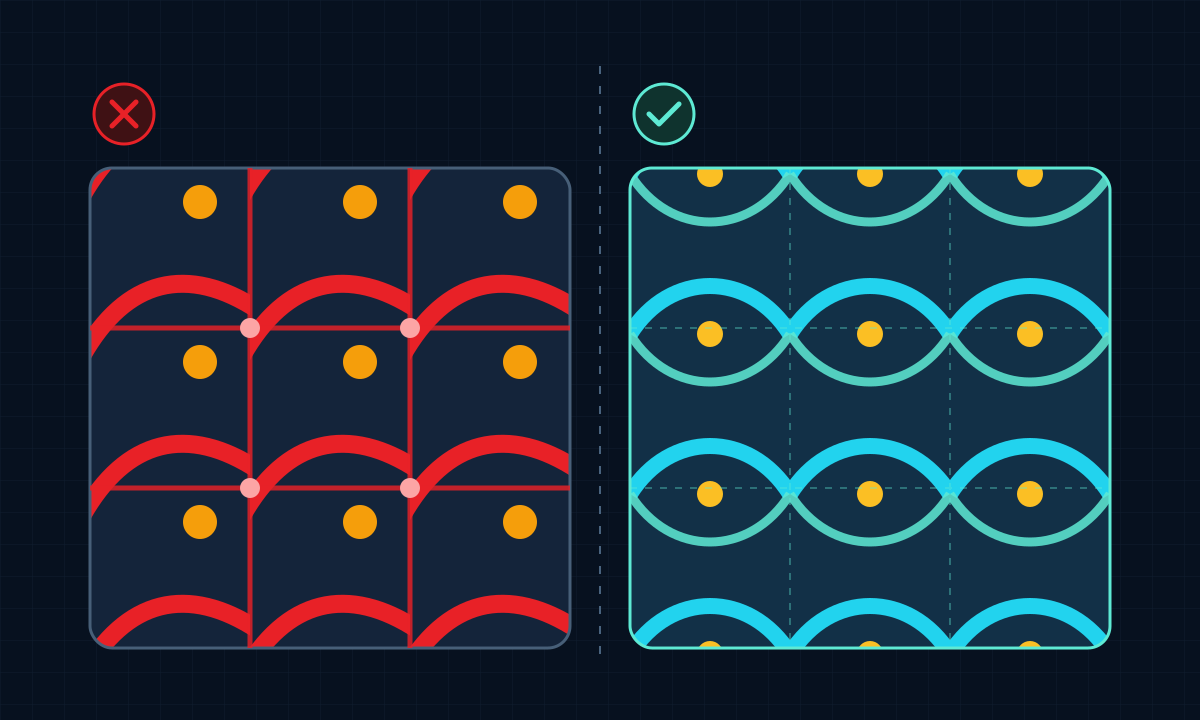
- The left edge must continue into the right edge.
- The top edge must continue into the bottom edge.
- The 3-by-3 preview should not reveal crosses or periodic bright spots.
- Keep the source tile separate, then scale it inside a copy of the Tesla template.
Use repeat scale to reduce visible breaks
When the repeat is too large, one shape can be cut directly by a seam. When it is too small, the touchscreen wide view turns it into noise. Begin at a medium scale so no single unit becomes the only focal point.
- Avoid relying on one oversized central motif.
- Keep enough variation between neighboring repeat units.
- Check both close detail and wide-view density.
- Reduce directional fine lines in stretched regions.
Treat a gradient as a relationship between body regions
Pixels that touch on the flat template may not meet on the 3D body, so a single linear gradient across the whole canvas is not enough. Set the main color for the side, nose, and rear, then move each region toward the same color direction.
If a seam creates a color jump, widen the similar-color range on both sides or use fine grain to soften the boundary. Do not move official body-map regions merely to make the flat file look continuous.


Build the preview loop with two colors and one pattern
Use only two main colors and one texture in the first version, with no text or photos. Inspect the direct side, front quarter, rear quarter, and wide view, then identify whether the break comes from scale, direction, or color.
Change only one variable in the second version. Add the logo or primary subject once the transitions between body regions look stable, so each mapping problem has a clear source.
- Does a seam cut one oversized repeat unit?
- Do the left and right textures face unintended directions?
- Does the gradient jump at the nose or rear?
- Does the wide view still have a clear color hierarchy?
Frequently asked questions
Which pattern crosses Tesla body seams most easily?
There is no universal pattern, but grain, scattered marks, and repeats without a critical center usually tolerate seams better than text, faces, or one continuous line.
Can I draw one gradient across the entire template?
It can be a first draft, but flat continuity does not prove 3D continuity. Inspect the side, nose, and rear color relationships separately.
Does a denser pattern always hide seams better?
No. Excess density becomes visual noise in the wide view. Check the individual repeat up close and the overall hierarchy at a small scale.
What makes a repeat tile seamless?
Its left and right edges, top and bottom edges, and all four corners join continuously, with no tile boundary visible in a 3-by-3 preview. That still does not guarantee continuity across Tesla body panels.
Sources
Product features, file requirements, and vehicle directories are sourced from Tesla's first-party material where available. The interface may vary by region, configuration, and software version.
Template and Paint Shop content
Checks content against Tesla's public material, vehicle templates, and the site's real workflow without inventing individual expert identities.
Start with a two-color background control
Use one gradient and one texture on the correct blank, then add the subject once the body-region transitions look stable.
Continue reading

How to Place Text and Logos on a Tesla Paint Shop Wrap
Place text, logos, and marks on a Tesla Paint Shop design by choosing continuous body regions, setting readable scale and contrast, protecting clear space, and testing several 3D angles.
Read article: How to Place Text and Logos on a Tesla Paint Shop Wrap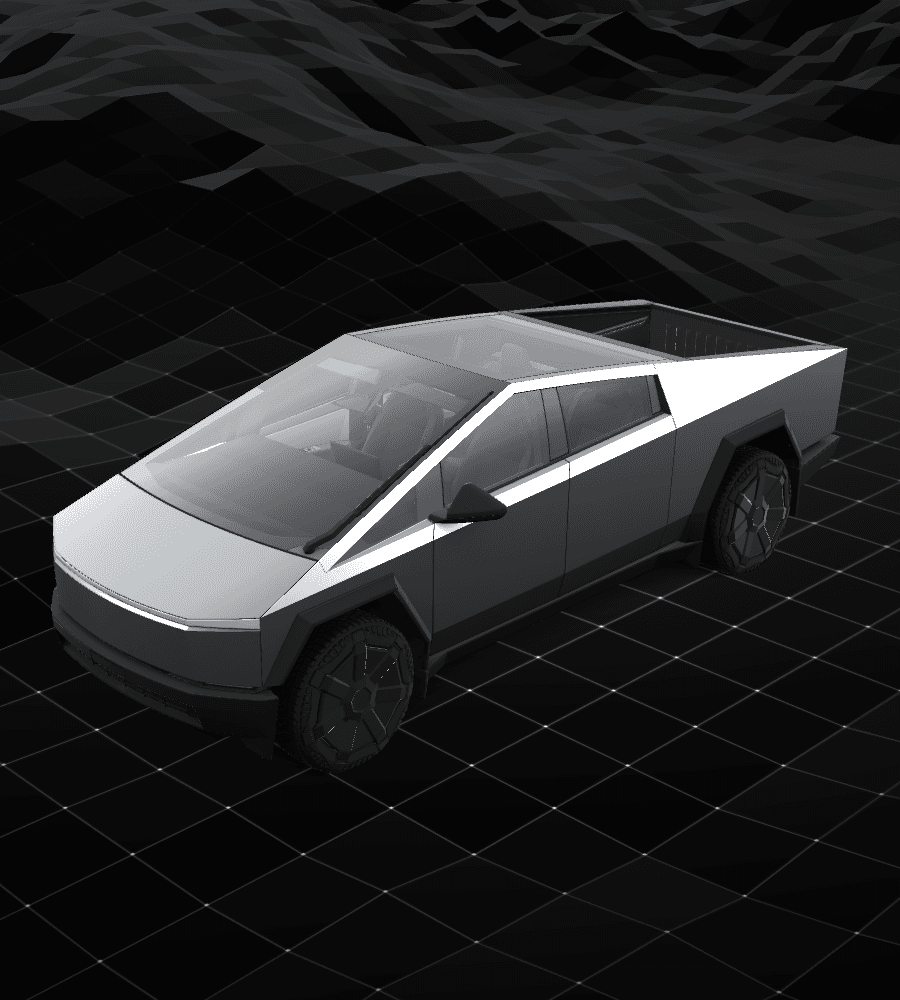
How to Use the Official Cybertruck Paint Shop Template
Use Tesla's official Cybertruck Paint Shop blank template, understand the editable body regions, and run an initial blank-PNG check before building a detailed digital wrap design.
Read article: How to Use the Official Cybertruck Paint Shop Template
How to Design a Tesla Paint Shop Wrap That Reads Across Body Panels
Design a clearer Tesla Paint Shop wrap by working with panel seams, graphic scale, color contrast, the original template canvas, and multi-angle 3D preview checks.
Read article: How to Design a Tesla Paint Shop Wrap That Reads Across Body Panels